Using Fides in ParaView
Fides is now available as a reader in ParaView. We’ll explain here how to build ParaView with the Fides reader, as well as provide an example on how to use the reader in ParaView.
Building ParaView with the Fides Reader
Currently Fides is not on by default in ParaView, so you will need to build from source (as opposed to downloading the binaries for your system). If you’re used to building ParaView, the instructions don’t change much for building Fides. Full ParaView build instructions are outside the scope of this guide, but can be found in the ParaView repo.
To get the Fides reader in ParaView, you’ll need to add the CMake option -DPARAVIEW_ENABLE_FIDES=ON.
Fides is included as a third party module, so you do not need to build your own version of Fides to use in ParaView.
A couple of notes:
ADIOS2 is required and you may need to set the environment variable
ADIOS2_DIRif CMake cannot detect the location of your ADIOS2 build.For MPI support in ParaView, you can set the CMake option
-DPARAVIEW_USE_MPI. The Fides reader can be used with or without MPI.For our examples in this guide, we will be showing how to use the Fides reader with ParaView’s Python scripting support, so you should also build with Python support. Use the CMake option
-DPARAVIEW_USE_PYTHON.
Gray-Scott Example
The Gray-Scott example is pulled from the ADIOS VM Tutorials.
We are including the code in the Fides repo under examples/gray-scott, so you do not need to pull anything from this repo.
To run this example, you’ll need to build Fides with the CMake option -DFIDES_ENABLE_EXAMPLES=ON.
CMake should also copy the configuration files needed to your build folder, so all files referenced in the example should be located in /path/to/fides-build/examples/gray-scott.
Note
For this example, the ADIOS2 build you use for building Fides needs to have MPI enabled. Fides decides whether to build with MPI based on if it is enabled in the ADIOS build.
Run Gray-Scott
To run, you can do the following:
$ cd /path/to/fides-build/examples/gray-scott
$ mpirun -np 4 ./gray-scott settings-staging.json
You should now see gs.bp in your current directory.
The number of steps for Gray-Scott is set to 1000. If you’d like to change this number, change the value for steps in settings-staging.json.
Visualize with ParaView
Now we can use the gs-vis.py Python script.
This script will visualize a selected variable for each time step in the gs.bp file.
First let’s run it and see the output, then we’ll break down what’s going on in the script.
To run (assuming we are still in the fides-build/examples/gray-scott directory):
$ mkdir vis
$ /path/to/paraview-build/bin/pvbatch gs-vis.py --bp_file=gs.bp --output_path=vis --varname=U
There’s a few command line args needed by gs-vis.py:
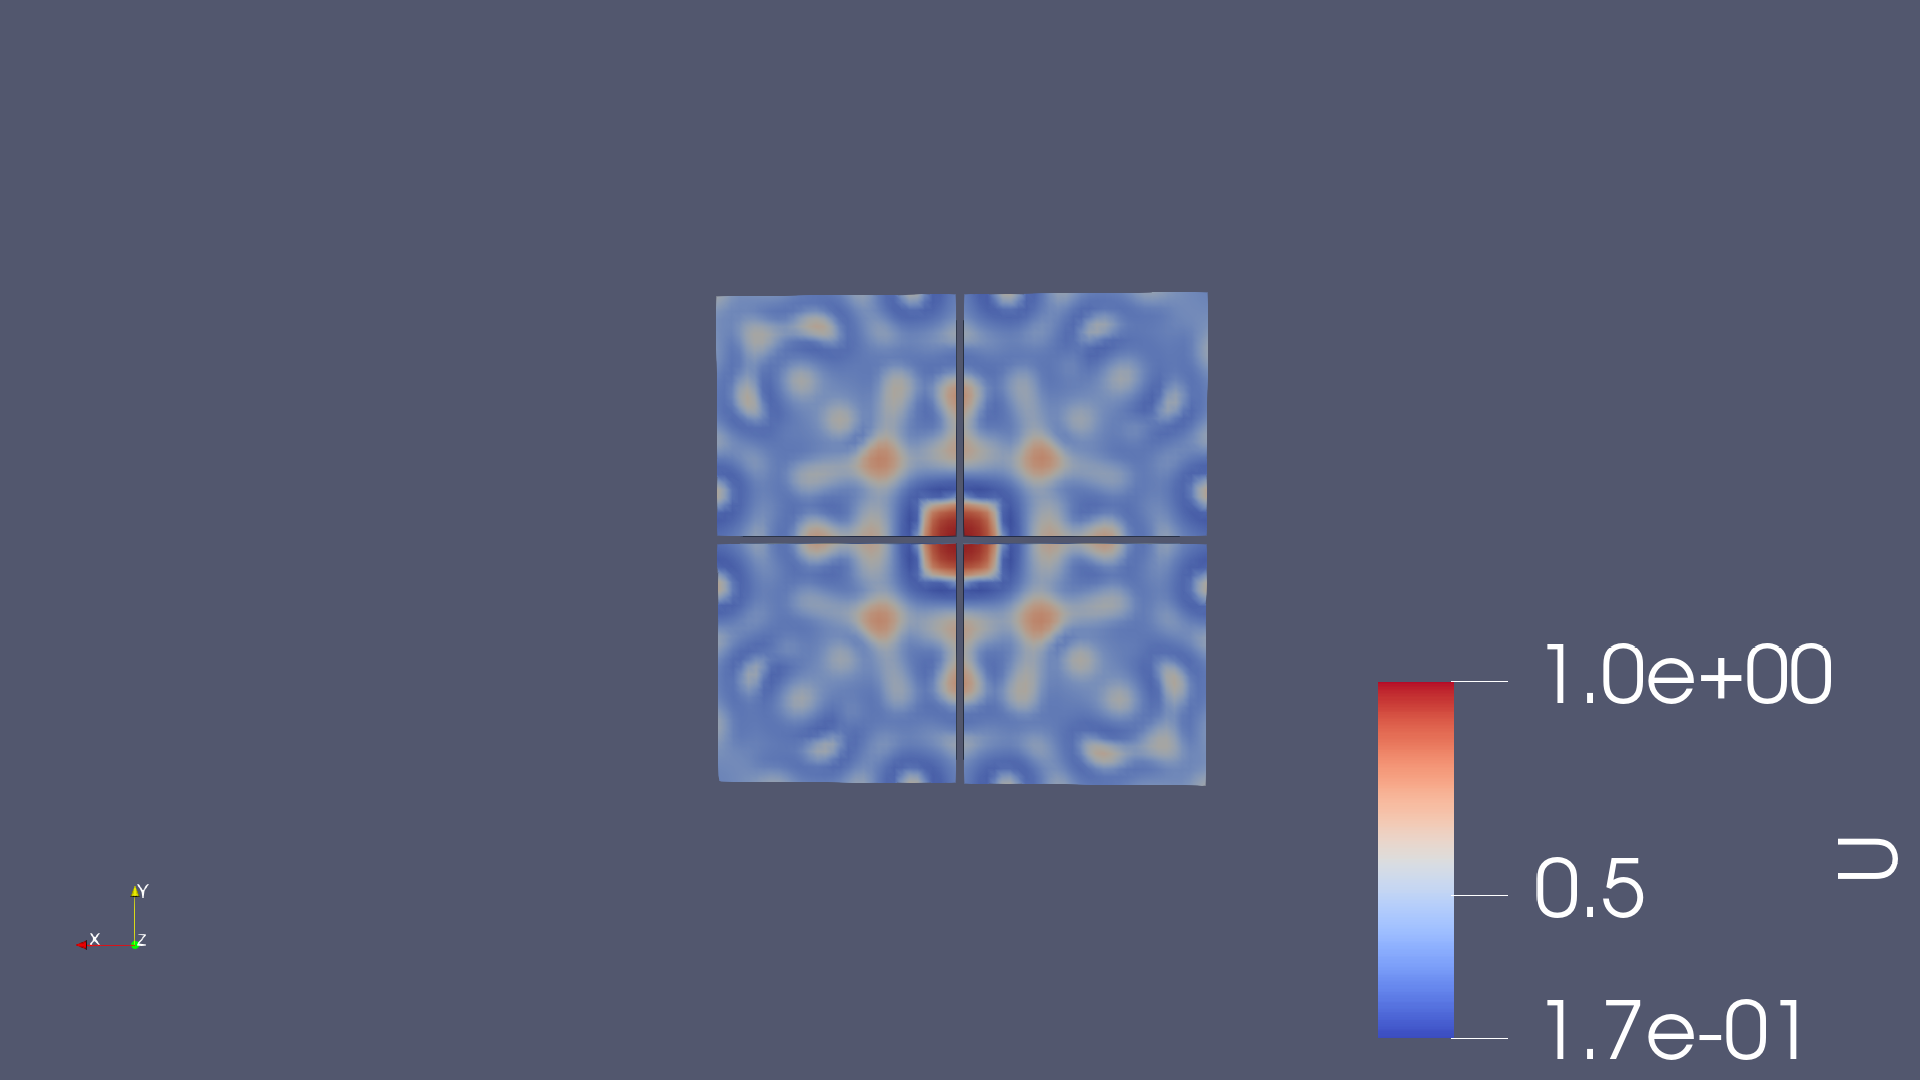
--bp_fileis the path to the BP file.--output_pathis the path where we want to save the visualizations created.--varnameis the name of the variable to visualize. This should be one of the variables listed when runningbplson the BP file. For Gray-Scott, we can select eitherUorV.
There should be one png file per timestep located in the vis directory we just created. Looking at the 250th time step, we see a visualization like:
Python Script Breakdown
Now let’s break down what’s going on in gs-vis.py.
The main section starts by parsing the args, then creating a Fides reader object:
fides = FidesReader(FileName=args.bp_file, ConvertToVTK=1)
We need to provide the reader with the path to our BP file and optionally tell it whether to convert the data to VTK (from VTK-m format).
The ConvertToVTK argument has a default value of 1, meaning convert to VTK format.
If you want to use a VTK-m filter, you could have Fides leave it in VTK-m format (ConvertToVTK=0) and then the filter would convert to VTK format after it runs.
Currently when using Fides in ParaView, you cannot provide your own data model, so Fides will generate a data model using attributes contained in the BP file.
For example, if we run bpls:
$ bpls -a gs.bp
double   Du                           attr
double   Dv                           attr
double   F                            attr
string   Fides_Data_Model             attr
string   Fides_Dimension_Variable     attr
double   Fides_Origin                 attr
double   Fides_Spacing                attr
string   Fides_Variable_Associations  attr
string   Fides_Variable_List          attr
double   U                            10*{64, 64, 64}
double   V                            10*{64, 64, 64}
double   dt                           attr
double   k                            attr
double   noise                        attr
int32_t  step                         10*scalar
The attributes starting with Fides_ are variables that are used by Fides to generate the data model.
For more details on how Fides generates a data model, see Data Model Generation.
For an example on how this attribute information is written to the BP file, see Writer::Writer() in examples/gray-scott/simulation/writer.cpp.
Back in gs-vis.py, we call Streaming(), which iterates over each step in the data.
This can be used in cases where the file has already been written (so BP3 or BP4), or with BP4 file streaming.
def Streaming(fides, output_path, varname):
    step = 0
    renderView = None
    while True:
        status = NotReady
        while status == NotReady:
            # essentially calls BeginStep on ADIOS engine being used
            fides.PrepareNextStep()
            # let ParaView know we need to update the pipeline info,
            # so we can get the status of this step
            fides.UpdatePipelineInformation()
            status = fides.NextStepStatus
        if status == EndOfStream:
            print("ADIOS StepStatus is EndOfStream")
            return
        if step == 0:
            renderView = SetupVis(fides, varname)
        UpdateVis(renderView, output_path, int(step))
        step += 1
fides.NextStepStatus will only return either EndOfStream or OK.
If the step status is NotReady, internally Fides will wait until the next step is ready.
On the first step, we call SetupVis(), which sets up our visualization pipeline and returns the render view.
The full explanation of the ParaView objects used is outside the scope of this guide, see the ParaView User Guide.
On all steps, we call UpdateVis(), which simply tells ParaView to update the pipeline and save a screenshot to the directory specified by the output_path argument we passed to the script.